How to use 7-Zip on Windows
GuideThese notes assume a typical Windows desktop after the program is installed. Paths and labels can differ slightly by language pack.
Make a new archive from File Explorer
- Select one file, several files, or an entire folder.
- Right-click the selection, open the 7-Zip submenu, then choose Add to archive…
- Pick the format (for example 7z or zip), set a password if needed, and adjust the compression level if you want faster runs versus smaller output.
- Confirm with OK; the archive appears beside your originals unless you chose another destination.
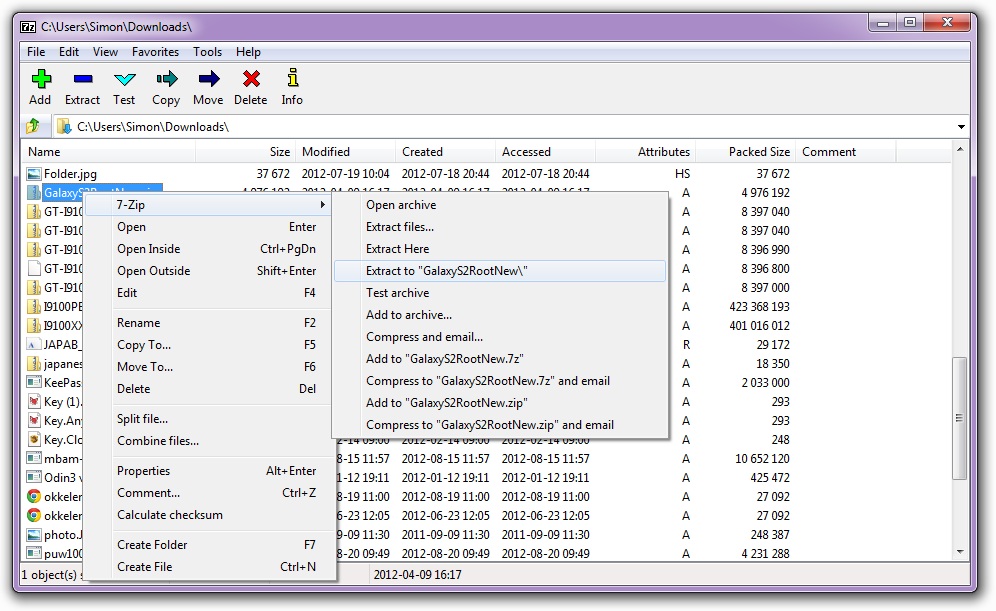
Unpack something you downloaded
- Right-click the archive file.
- Use 7-Zip → Extract to “FolderName\” for a dedicated directory, or Extract here when you already stand in the right place.
- If the archive is password-protected, you will be prompted during extraction.
Use the main application window
Launch 7-Zip File Manager from the Start menu. It behaves like a small two-pane browser: navigate into an archive as if it were a folder, preview contents, drag items out, or start add / extract actions from the toolbar.
Small quality-of-life tips
- For huge jobs, prefer extracting to a drive with plenty of free space; temporary files can grow large.
- When sharing with people on other platforms, zip remains the most universally recognized option even if 7z is tighter.
- Keep originals until you verify the archive opens on another machine if the data matters.